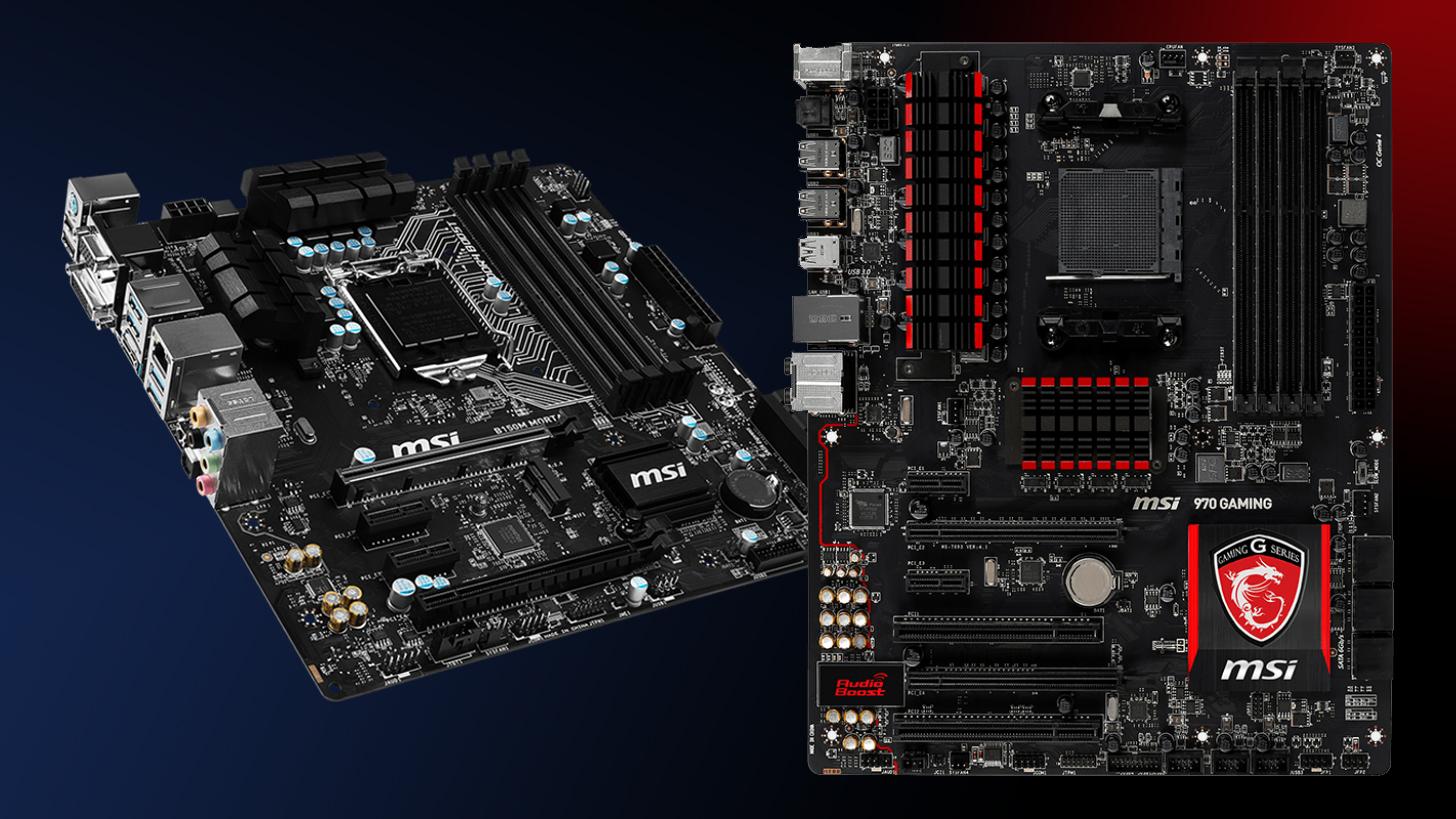
A clean motherboard is crucial for maintaining the reliability and performance of your computer. Dust, dirt, and grime can accumulate on the motherboard over time, potentially causing overheating and even system failures. In this step-by-step guide, we will walk you through the process of cleaning your motherboard safely and effectively.
Before You Begin
Before you start the cleaning process, make sure you have the necessary tools and materials ready. Here’s what you’ll need:
- Screwdriver: You may need to remove the motherboard from your computer case, so having a screwdriver suitable for your case’s screws is essential.
- Compressed Air: Compressed air in a can is the primary tool for cleaning the motherboard. You can find it at most electronics or office supply stores.
- Isopropyl Alcohol (Rubbing Alcohol): A high-percentage isopropyl alcohol (at least 90%) is useful for cleaning stubborn residue and thermal paste.
- Anti-Static Wrist Strap: To protect your components from electrostatic discharge, it’s a good idea to wear an antistatic wrist strap.
- Microfiber Cloth or Soft Brush: You’ll need a microfiber cloth or a soft brush to remove any loose dust or particles.
- Latex or Nitrile Gloves: Wearing gloves can help prevent the transfer of oils and dirt from your hands to the motherboard.
- Small Containers: You may need small containers to hold screws or components while you work.
Once you have gathered these tools and materials, you can proceed with cleaning your motherboard.
Step 1: Safety Precautions
Before you start cleaning your motherboard, it’s crucial to take some safety precautions to protect yourself and your components:
- Unplug and Disconnect: Turn off your computer, unplug it from the power source, and disconnect all cables and peripherals.
- Ground Yourself: Wear an antistatic wrist strap to prevent electrostatic discharge, which can damage sensitive components.
- Work in a Clean Environment: Choose a clean, well-lit workspace free from excessive dust and dirt.
Step 2: Prepare Your Workspace
Clear your workspace, and lay down an antistatic mat or a clean, non-conductive surface. This will help ensure that your motherboard and other components remain free from static electricity and damage during the cleaning process.
Step 3: Disassemble the Computer
Depending on the level of cleaning required, you might need to remove the motherboard from the computer case. Here are the steps for disassembling your computer:
A. Remove the Side Panel:
- Open your computer case by removing the side panel. This typically involves undoing screws or latches, but it can vary depending on your case.
B. Disconnect Cables:
- Carefully disconnect all cables connected to the motherboard, including power cables, data cables, and front panel connectors.
C. Remove Expansion Cards:
- If you have expansion cards such as a GPU, sound card, or Wi-Fi card, remove them from their slots.
D. Remove RAM Modules:
- Release the RAM modules by gently pushing down on the clips at each end. Carefully remove the modules.
E. Remove the CPU Cooler:
- If your CPU cooler is attached to a bracket, remove it.
F. Unscrew the Motherboard:
- Identify and unscrew the mounting screws that secure the motherboard to the case. There are typically six to nine screws around the edges.
G. Carefully Lift the Motherboard:
- Lift the motherboard out of the case, ensuring that no cables or components are still attached. Set it aside on an antistatic surface.
Step 4: Remove Loose Dust and Debris
Before using compressed air, it’s a good idea to remove any loose dust and debris from the motherboard. You can use a microfiber cloth or a soft brush for this purpose. Gently wipe the surface of the motherboard to dislodge and remove the loose particles. Be cautious not to apply too much pressure or to touch sensitive components.
Step 5: Clean with Compressed Air
Compressed air is the primary tool for cleaning your motherboard effectively. Here’s how to use it:
A. Safety Precautions:
- Shake the can of compressed air to ensure it’s well-mixed, and hold it upright during use. Do not tilt the can while spraying.
B. Blow Away Dust:
- Using short bursts of air, blow away dust from the motherboard components and crevices. Start from the top and work your way down to prevent dislodged dust from settling in lower areas.
C. Focus on Heatsinks and Fans:
- Pay special attention to heatsinks and fans as they tend to accumulate a lot of dust. Ensure the fans are clean and rotate freely.
D. Clean the Case:
- While the motherboard is out of the case, it’s a good opportunity to clean the inside of the case with compressed air as well.
Step 6: Remove Stubborn Residue
If there is any stubborn residue, such as thermal paste.
Conclusion:
Connecting and configuring front panel connectors on a motherboard can be a bit intimidating for first-time PC builders, but with the right approach and careful attention to detail, it’s a manageable task. Following the steps outlined in this guide and consulting your motherboard and case manuals will ensure that your front panel connectors function correctly, allowing you to power your computer on, off, and control various functions with ease. Properly connected front panel connectors are essential for a smooth and user-friendly PC building experience.


