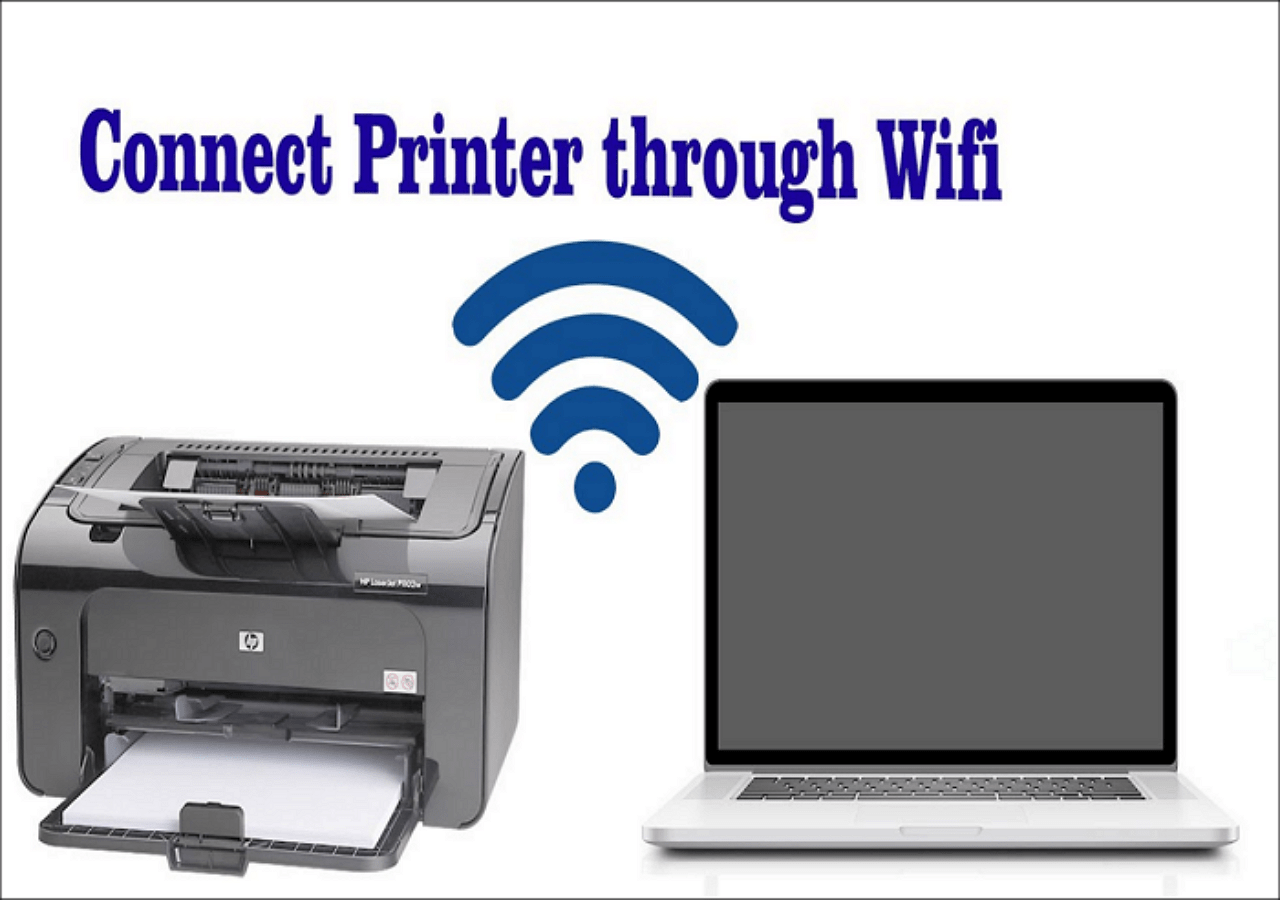
FsIntroduction:
Connect your HP LaserJet printer to WiFi not only provides convenience but also allows for seamless printing from multiple devices. Whether you’re setting up a new HP LaserJet printer or trying to connect an existing one to your WiFi network, this guide will walk you through the process step by step.
Step 1: Gather Necessary Information
Before you begin the setup process, make sure you have the following information:
- WiFi network name (SSID)
- WiFi network password (WPA/WPA2 key)
Step 2: Power On Your HP LaserJet Printer
Ensure that your HP LaserJet printer is powered on and in a ready state. If the printer is new, follow the manufacturer’s instructions for the initial setup, including loading paper and installing toner cartridges.
Step 3: Access the Control Panel
Locate the control panel on your HP LaserJet printer. This is usually a touchscreen display or a combination of buttons and a display. Navigate to the “Network” or “Wireless” settings. The exact location may vary depending on the model.
Step 4: Choose Wireless Setup Wizard
Select the “Wireless Setup Wizard” option from the menu. The printer will search for available WiFi networks in your vicinity.
Step 5: Select Your WiFi Network
Once the list of available networks appears, find and select your WiFi network from the list. Enter the WiFi password when prompted. Use the keyboard on the printer’s control panel to input the password accurately.
Step 6: Confirm Connection
After entering the WiFi password, the printer will attempt to connect to the network. Once successfully connected, you should see a confirmation message on the printer’s display.
Step 7: Print a Configuration Page
For verification purposes, it’s a good idea to print a configuration page. This page will display the printer’s IP address and other network information. Refer to your printer’s manual for instructions on how to print a configuration page.
Step 8: Install Printer Software on Your Computer
To ensure proper communication between your computer and the HP LaserJet printer, you’ll need to install the necessary printer software. Visit the official HP website and download the latest drivers and software for your specific printer model. Follow the installation instructions provided.
Step 9: Test Your Connection
Print a test page to confirm that your HP LaserJet printer is successfully connected to the WiFi network. If the test page prints without any issues, congratulations! Your printer is now ready for wireless printing.
Conclusion:
Connecting your HP LaserJet printer to WiFi is a straightforward process that enhances the flexibility and convenience of your printing experience. By following these simple steps, you can enjoy the benefits of wireless printing from various devices on your network. If you encounter any issues during the setup process, consult the printer’s manual or reach out to HP’s customer support for assistance.


