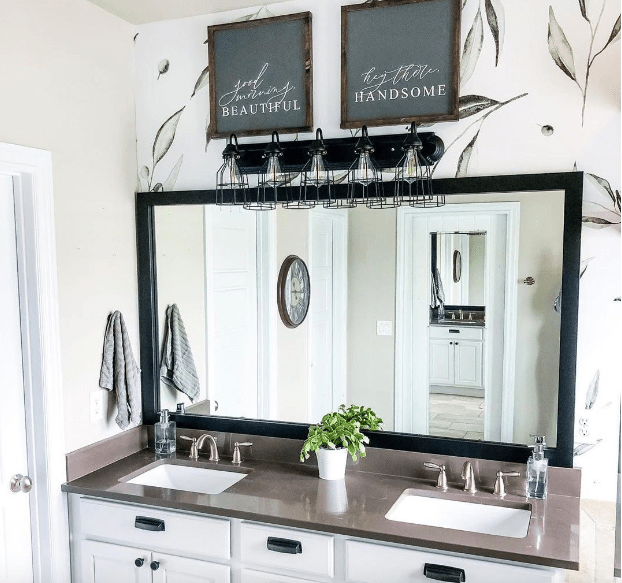
If you have a large plate-glass mirror in the bathroom that attaches to the wall with clips, framing it can seem tricky.
How do you get the frame to fit over the clips and still sit flush against the glass? If you’re creating a DIY frame, odds are you’ll have to chisel out a space in the back of the frame to fit over the clips.
But hold on a second. Before you rush to the garage to find the right power tool for the job, keep reading, because there’s a better solution. Ahead we explore how to frame a bathroom mirror with clips the easy way.
Why do some bathroom mirrors have clips?
Builder-grade bathroom mirrors have been standard fare in new housing developments for decades, because they’re cheap and easy to install. Frameless mirrors are typically attached to the wall in one of two ways: with clips or with glue.
Glued-on plate-glass mirrors can cause serious damage to the wall during removal. And in some cases, it’s impossible to remove them without shattering the glass.
Clips, by contrast, “grab” each corner with a metal piece that comes over the top and bottom of the mirror. They’re less likely to cause damage if you need to remove your mirror from the wall. It’s why many builders and contractors prefer them.
But clips do present one challenge: They create an uneven mirror surface that can prevent a frame from sitting flush with the glass.
Thankfully, there’s an easy solution for framing a frameless mirror: MirrorMate frames.
How do I frame a mirror with clips?
MirrorMate DIY framing kits are specifically designed to fit over frameless mirrors with clips with a patented recess in the back.
But how do you find the right size frame for your mirror? Easy! MirrorMate frames are custom-cut to the exact dimensions of your mirror and adhere directly to its surface.
MirrorMate frames fit on all square and rectangular mirrors, even ones that sit on top of a backsplash or fit snugly between two walls.
Here’s how it works:
Step 1: Choose your style.
MirrorMate offers a huge selection of frame styles and colors to match any décor, from traditional to glam. Find your perfect frame at MirrorMate.com. If you need to cover up blemishes around the edges of your mirror, be sure to order a thicker frame, like MirrorMate’s Acadia Oiled Bronze Frame or Chelsea Silver Streak Frame.
Step 2: Take measurements.
Next, measure the height and width of your mirror. Also measure the distance between any obstructions, like a wall, ceiling, or backsplash. Use our measuring guide for detailed instructions. MirrorMate frames work with all square and rectangular mirrors.
Step 3: Place your order.
Once you’ve found a mirror style you love, you’ll simply need to enter the measurements and place your order. If you’re not sure which style will work best for the space, you can order single mirror frame samples for just $2 each or a bundle of five samples for $8 at MirrorMate.com.
Step 4: Assemble and install.
Your DIY mirror framing kit will arrive with everything you need to assemble your new mirror frame. Follow the simple step-by-step assembly instructions, then ask a friend to help you install the frame, if needed. Once you’re done, sit back and admire your beautiful new frame!
Upgrade Your Mirror with a MirrorMate Frame
Ready to freshen up a frameless mirror in the bath? Our frames for mirrors with mirror clips are specifically designed to sit flush against your mirror’s surface. It’s what sets MirrorMate apart from other DIY frame kit makers. Put away the power tools and let us do the work for you!
Learn how it works, and order samples if you’re having trouble picking a style. Your kit will arrive with everything you need to install your new frame—no special tools or skills required.
Explore all MirrorMate collections to find your perfect frame.


