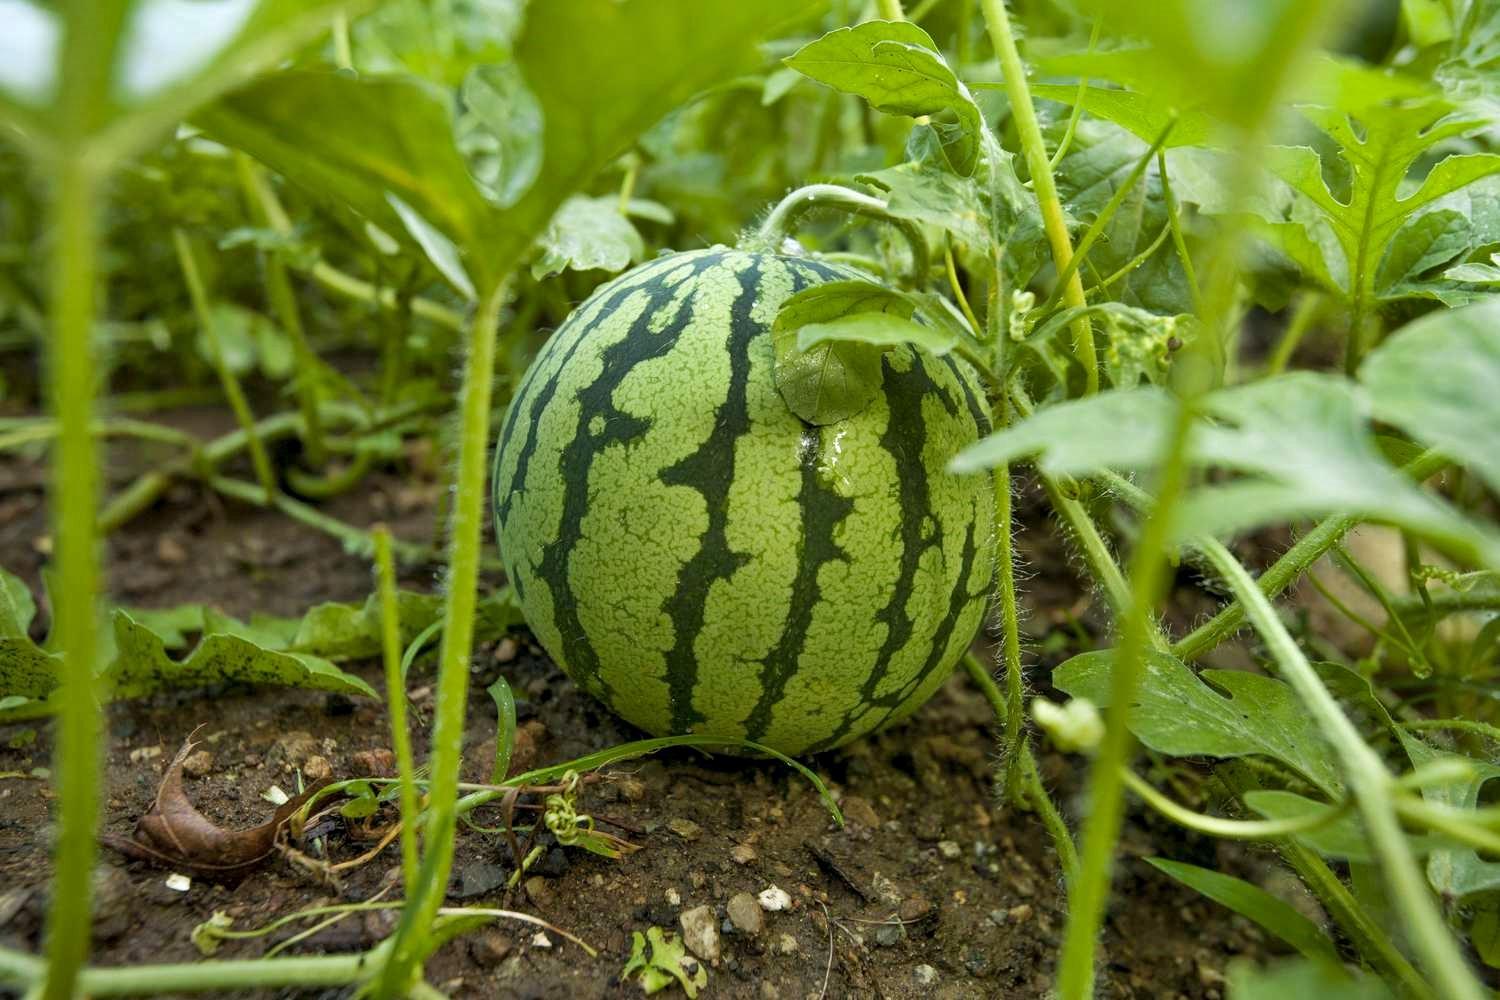
Growing watermelons can be a rewarding and delicious adventure. Whether you’re a seasoned gardener or a beginner, here’s a walk-through of the steps to ensure your watermelons thrive from seed to harvest.
Step 1: Choosing the Right Watermelon Variety
Firstly, picking the right watermelon variety for your garden is essential. When looking for the right watermelon seedlings for sale, consider your climate, space, and taste preferences. For instance, if you live in a cooler region, varieties like ‘Sugar Baby’ or ‘Golden Midget’ mature quickly and can handle shorter growing seasons. If space is a concern, bush-type watermelons like ‘Bush Sugar Baby’ are perfect for smaller gardens.
Step 2: Preparing the Garden Bed
After finding the ideal watermelon seedlings for sale, it’s time to prepare the garden bed. Watermelons are sun lovers, so choose a spot in your garden that gets at least 8-10 hours of direct sunlight daily. The soil should be well-drained and rich in organic matter with an acidic to neutral pH of 6.0 to 7.0. Amend your soil with plenty of compost or well-rotted manure to improve fertility. Creating mounds about 12 inches high and 18 inches wide, spaced about 3-4 feet apart, ensures water drains away from the roots.
Step 3: Starting Seeds Indoors
To give your watermelons a head start, plant seeds indoors about 4-6 weeks before the last expected frost date. You’ll need seed trays, a good-quality potting mix, and a heat mat to maintain a soil temperature of around 70-85°F.
Plant the seeds about half an inch deep in the potting mix. Keep the soil moist but not waterlogged. Place the trays in a sunny window or under grow lights, and watch your seedlings sprout. Once they have a couple of true leaves and the outdoor temperatures are consistently warm, they’re ready to be hardened off.
Step 4: Transplanting Seedlings to Garden
Before moving your seedlings to the garden, harden them off by gradually exposing them to outdoor conditions. Start by placing them outside for a few hours each day, increasing the time over a week. Transplant your seedlings into the prepared mounds after the danger of frost has passed. Space the seedlings about 3 feet apart to allow room for growth. Plant them at the same depth they were in their pots, and water them well to help settle the soil around the roots.
Step 5: Watering and Feeding
Watermelons need consistent moisture to develop juicy, sweet fruit. Water deeply, ensuring the soil stays moist down to about 6 inches. Aim for about 1-2 inches of water per week, more during hot, dry spells.
Mulching around the base of your plants with straw or wood chips helps retain moisture and suppress weeds. Apply a balanced fertilizer when planting, then switch to a low-nitrogen fertilizer as the plants begin to flower to encourage fruit development.
Step 6: Supporting and Pruning Vines
If you’re short on space or simply want to keep your garden tidy, consider building a trellis for your watermelon vines. Use sturdy materials like wood or metal to construct a trellis that can support the weight of the growing melons. Train the vines to climb the trellis by gently tying them as they grow. Pruning the vines can also help improve fruit size and health.
Step 7: Monitoring Growth and Development
Regularly inspect your watermelon plants for signs of nutrient deficiencies, water stress, or pests. Yellowing leaves can indicate a lack of nitrogen, while wilting can signal under watering or root issues. Combat common pests like aphids and cucumber beetles with organic methods like neem oil and insecticidal soap or introduce beneficial insects like ladybugs. Prevent pests by ensuring good air circulation, avoiding overhead watering, and practicing crop rotation. If disease strikes, remove affected plant parts immediately and consider using organic fungicides.
Step 8: Harvesting Watermelons
Determining the perfect time to harvest watermelons can be tricky but crucial for the best flavor. Look for a few key signs. The tendrils near the fruit stem turn brown and dry, the underside of the melon (where it sits on the ground) turns from white to a creamy yellow, and the fruit emits a deep, hollow sound when tapped.
Use a sharp knife to cut the watermelon from the vine, leaving a few inches of stem attached. Handle the fruit gently to avoid bruising. Enjoy your harvest fresh, or store it in a cool place for a few days.


